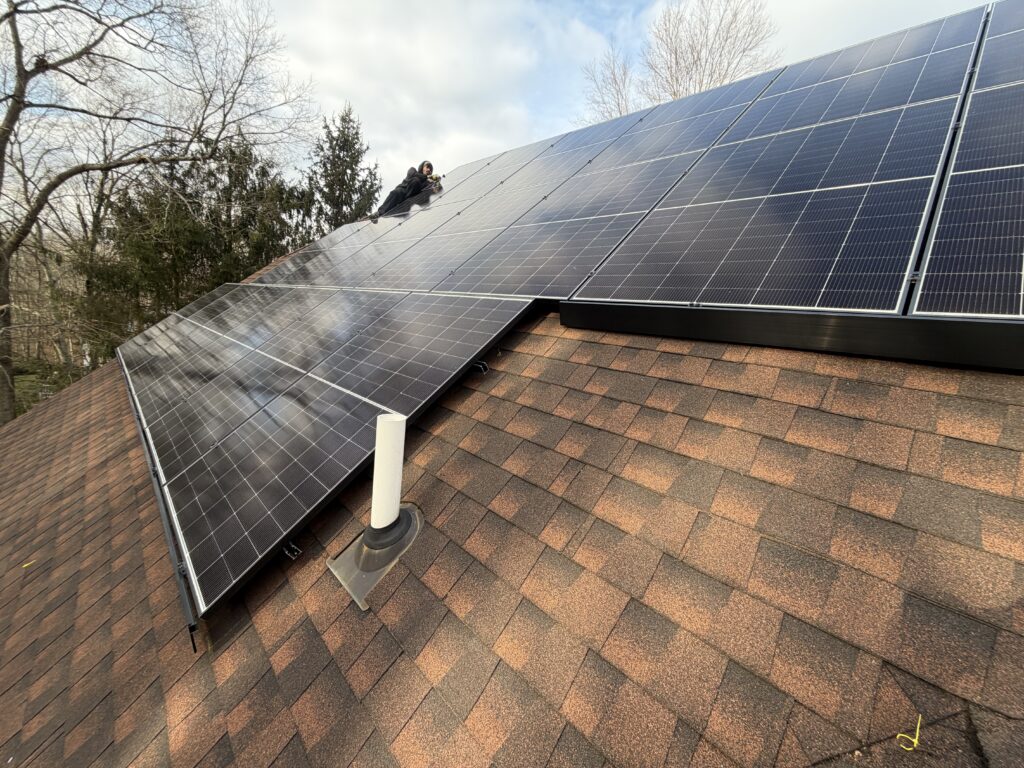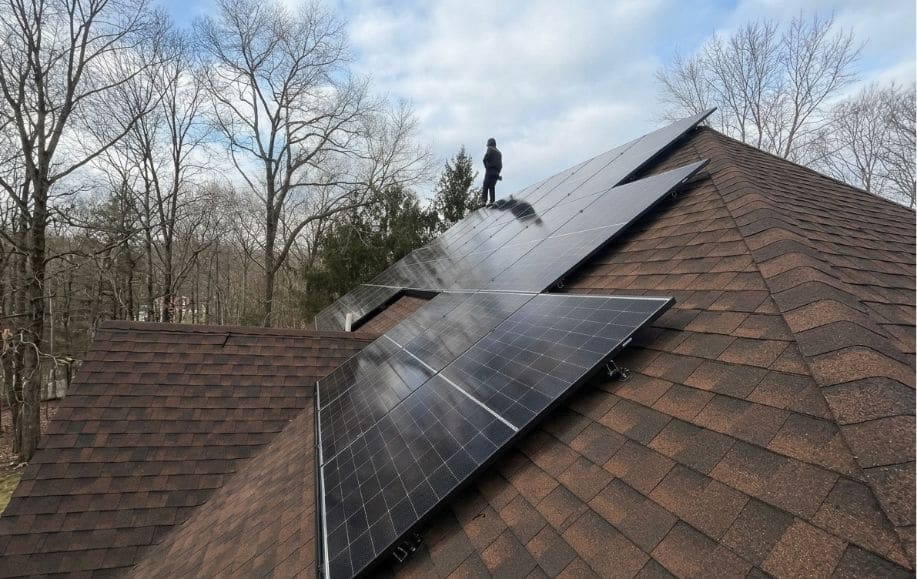
A homeowner calls because the roof under their solar array needs replacing. Solar panel removal and reinstallation may look simple: take the array down, let the roofer work, and install the array again. In practice, these jobs require careful planning, documentation, coordination between trades, and a new evaluation of the roof, modules, and mounting system.
This guide focuses on asphalt composition shingle roofs, where the TRT01 and TRT02 mounting systems may be suitable, with a brief discussion of tile roofs and TRT03. Always use the current, applicable system documentation rather than relying on this overview as installation instructions.
Why Removal and Reinstall Jobs Go Wrong
Many problems on removal and reinstall projects arise from gaps between the solar crew, roofing contractor, and homeowner. Common trouble spots include:
- No complete record of the original array layout, wiring, and equipment condition.
- Mismatched schedules between the roofing and solar crews.
- Modules and removed components stored without labels or protection.
- Treating reinstallation as simply “putting everything back” instead of verifying compatibility and engineering requirements for the new roof.
Address these issues in the project plan before work starts.
Before Removal: Document Everything
Photograph and record the existing array
Photograph the installed array and document module positions, row layout, wiring and string routing, equipment labels, mounting locations, and visible condition. Record roof conditions and any pre-existing damage. For a complete roof replacement, removal of the solar array and associated mounting components is typically necessary to provide roofing access. The extent of removal should reflect the actual roof work and the requirements of the equipment and roofing manufacturers.
Clear records can help resolve later questions about component condition and work scope. Refer to TRT’s composition shingle solar mounting best-practices article for additional roof-attachment considerations, but use the current installation manual for binding installation requirements.
Agree on scope with the roofer and homeowner
Document the handoffs before work begins:
- Who will shut down, isolate, and disconnect the electrical system.
- Who will remove, inspect, transport, and store modules and hardware.
- When the replacement roof will be complete and ready for attachment work.
- Who is responsible for penetrations, flashing or sealing details, inspections, permits, and any required roof-warranty coordination.
Plan safe access and removal
Plan lifting, material handling, staging, fall protection, and access for all workers. Follow applicable OSHA fall requirements for construction and equipment manufacturer instructions. Use qualified personnel for electrical disconnection and reconnection.
Store Modules and Evaluate Removed Hardware
Store modules according to the module manufacturer’s instructions in a protected, secure area away from debris and foot traffic. Label modules so their original positions and test results can be identified. Inspect modules, frames, connectors, wiring, and other equipment before reuse.
Do not assume previously installed mounting hardware can be reused. Verify reuse eligibility under the original manufacturer’s current written instructions and replace damaged, deformed, corroded, or unapproved components. Evaluate sealing materials, mechanical fasteners, clamps, and bonding parts separately; a component approved for one installation is not automatically approved for another.
Reinstall on the New Roof: Select the Correct System
Treat installation on the replacement roof as a new mounting-design and compatibility review, even when existing modules are retained. TRT offers the following systems for appropriate asphalt composition shingle installations:
- TRT01 Rail-less Base System: combines the mounting base and mini-rail in an integrated, height-adjustable assembly. Its specified butyl material is used for roof-penetration sealing, while approved mechanical fasteners provide structural attachment.
- TRT02 Rail Base System: uses a cast-aluminum mounting base with specified butyl and EPDM sealing components, together with approved mechanical fasteners. The system supports aluminum rails and TRT’s compatible rail fastening components.
TRT01 and TRT02 have UL 2703-listed configurations. A listing does not mean every existing module, clamp, fastener, bonding arrangement, or installation condition is automatically approved. Follow the applicable listing and the latest TRT installation instructions, including fire classification and bonding conditions.
Verify existing module compatibility
Older modules may differ from the modules used in current certifications. Before specifying TRT01, TRT02, or TRT03, verify the module dimensions, frame geometry and height, permitted clamping zones, clamp engagement, bonding compatibility, fire-class requirements, and condition of the reused equipment. Do not use general marketing compatibility ranges in place of the current system-specific compatible-module criteria.
For example, TRT01’s previously documented clamp ranges include 26–37 mm for the middle clamp and 26–40 mm for the skirt clamp, with additional module-size and frame-finish restrictions. These values are examples for review, not a substitute for the applicable current certified requirements. Confirm all project-specific limits before ordering.
Use approved engineering for attachment layout
Determine the mounting layout using the current TRT engineering documents for the selected product. Verify rail span and overhang limits where applicable, bracket or hook load capacities, mechanical fastening and substrate requirements, wind and snow loads, roof zones, and the supporting roof structure. Satisfying a rail span table does not by itself establish sufficient attachment or roof capacity.
Apply the building code and ASCE 7 edition adopted for the project jurisdiction. Obtain stamped engineering when required by the authority having jurisdiction (AHJ), and confirm permit and inspection requirements early.
Confirm roof surface and waterproofing details
Confirm that the new roof and attachment surfaces meet the current TRT installation requirements, including approved materials, surface preparation, substrate condition, fastener locations, and specified sealing components. Do not substitute adhesive sealing for required structural fasteners. Do not add incompatible sealants or lubricants, including silicone where prohibited by the applicable TRT butyl-system instructions.
What About Tile Roofs?
For suitable tile roofs, evaluate the TRT03 Tile Hook System. TRT identifies Tile Hook 1, Tile Hook 2, and Tile Hook 3 options for different roof tile profiles. Select the appropriate hook using the current TRT03 product drawings, compatibility guidance, installation instructions, and engineering data. Do not assume TRT01 or TRT02 module limits or attachment engineering also apply to TRT03.
Coordinate any removal, adjustment, or approved modification of roof tiles with the roofing contractor. Follow the instructions for the exact hook, tile profile, waterproofing method, and roof structure; do not notch or modify tiles unless the relevant approved detail permits it.
Close Out and Recommission
Photograph completed attachments and the finished array. Before returning the system to service, qualified personnel should inspect modules, mechanical connections, electrical wiring and connectors, grounding and bonding, and operational performance in accordance with the applicable electrical code, manufacturer requirements, and approved project documents. Document required inspections, test results, and any changes to the original design.
Explain to the homeowner what was removed, replaced, or reused, and provide the relevant installation and warranty information.
Technical and Warranty Considerations
Solar panel removal and reinstallation must comply with applicable building and electrical codes, approved engineering, and current manufacturer instructions. Before reusing modules or mounting hardware, verify condition, compatibility, and written authorization where applicable. TRT mounting systems must be installed according to current system-specific compatibility, structural load, attachment, bonding, and fire-class requirements.
Removal and reinstallation may affect existing equipment and roof warranties. TRT’s 25-year limited product warranty is subject to its written terms and conditions; no warranty extension, renewal, or coverage for reused components is implied by this article.
To plan a project, consult current TRT span and attachment engineering, module compatibility documentation, installation manuals, and your AHJ. Contact the TRT team for the latest product documents and distributor availability.
Frequently Asked Questions
What is solar panel removal and reinstall?
It is the controlled removal of existing modules and applicable mounting components to allow roof work, followed by inspection, engineering review, and installation of an approved configuration on the repaired or replacement roof.
Do solar panels have to come off for a roof replacement?
For a complete reroof, the array and relevant mounting components typically must be removed to provide access. The exact scope depends on the roofing work and manufacturer requirements. Localized roof repairs may require a different scope.
Can I reinstall existing panels on a new mounting system?
Potentially, yes. Reuse depends on module condition and full compatibility with the selected mounting system, including dimensions, frame and clamp requirements, approved mounting zones, bonding, and fire classification. Confirm using current TRT documentation before specifying or ordering components.