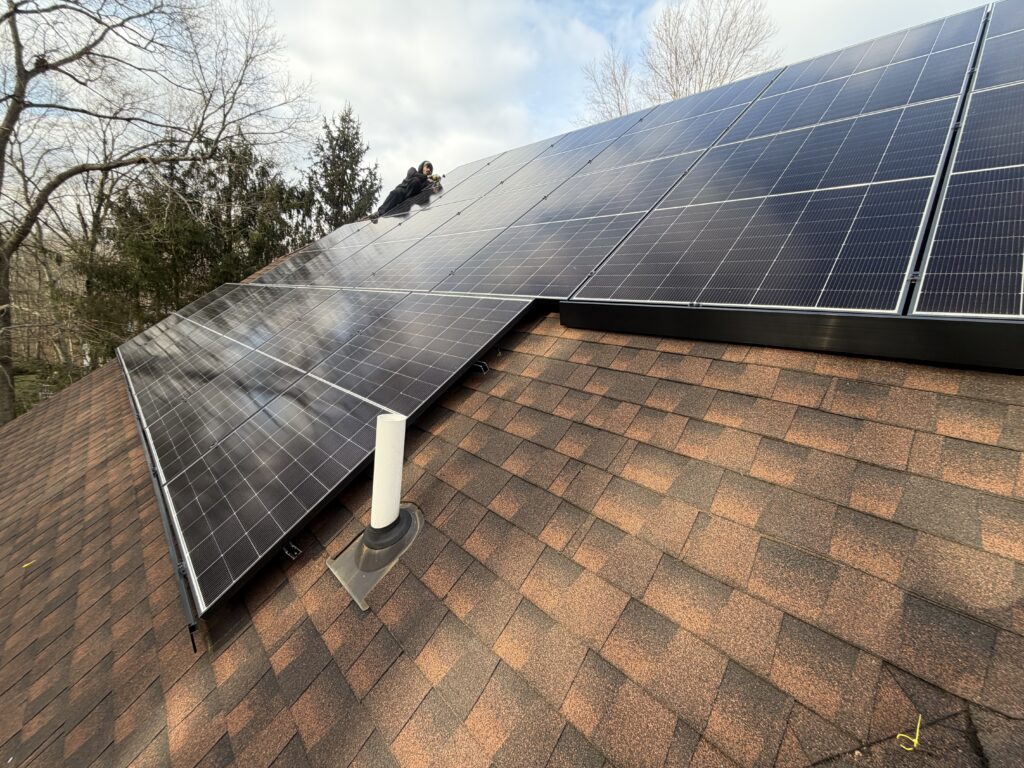
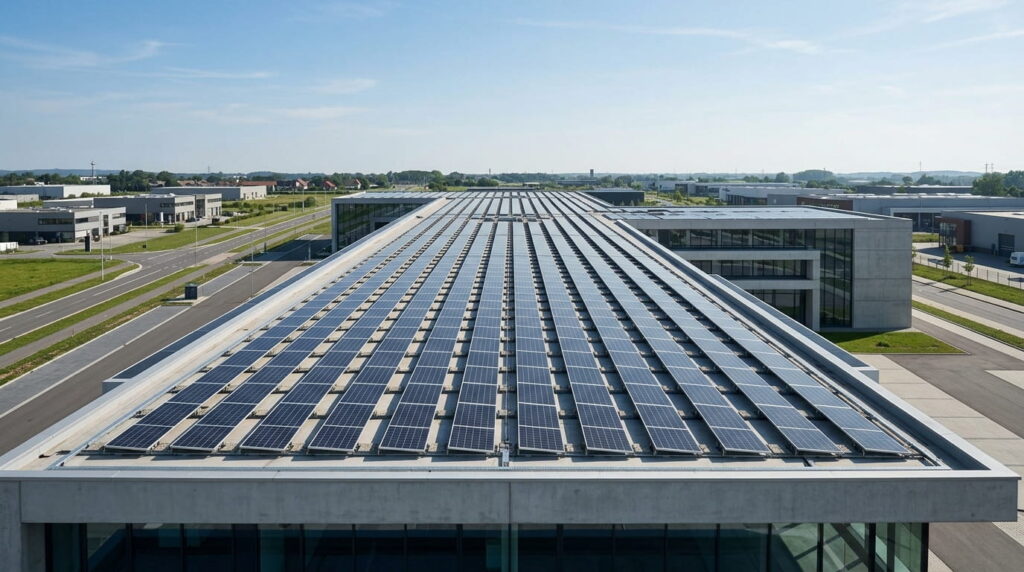
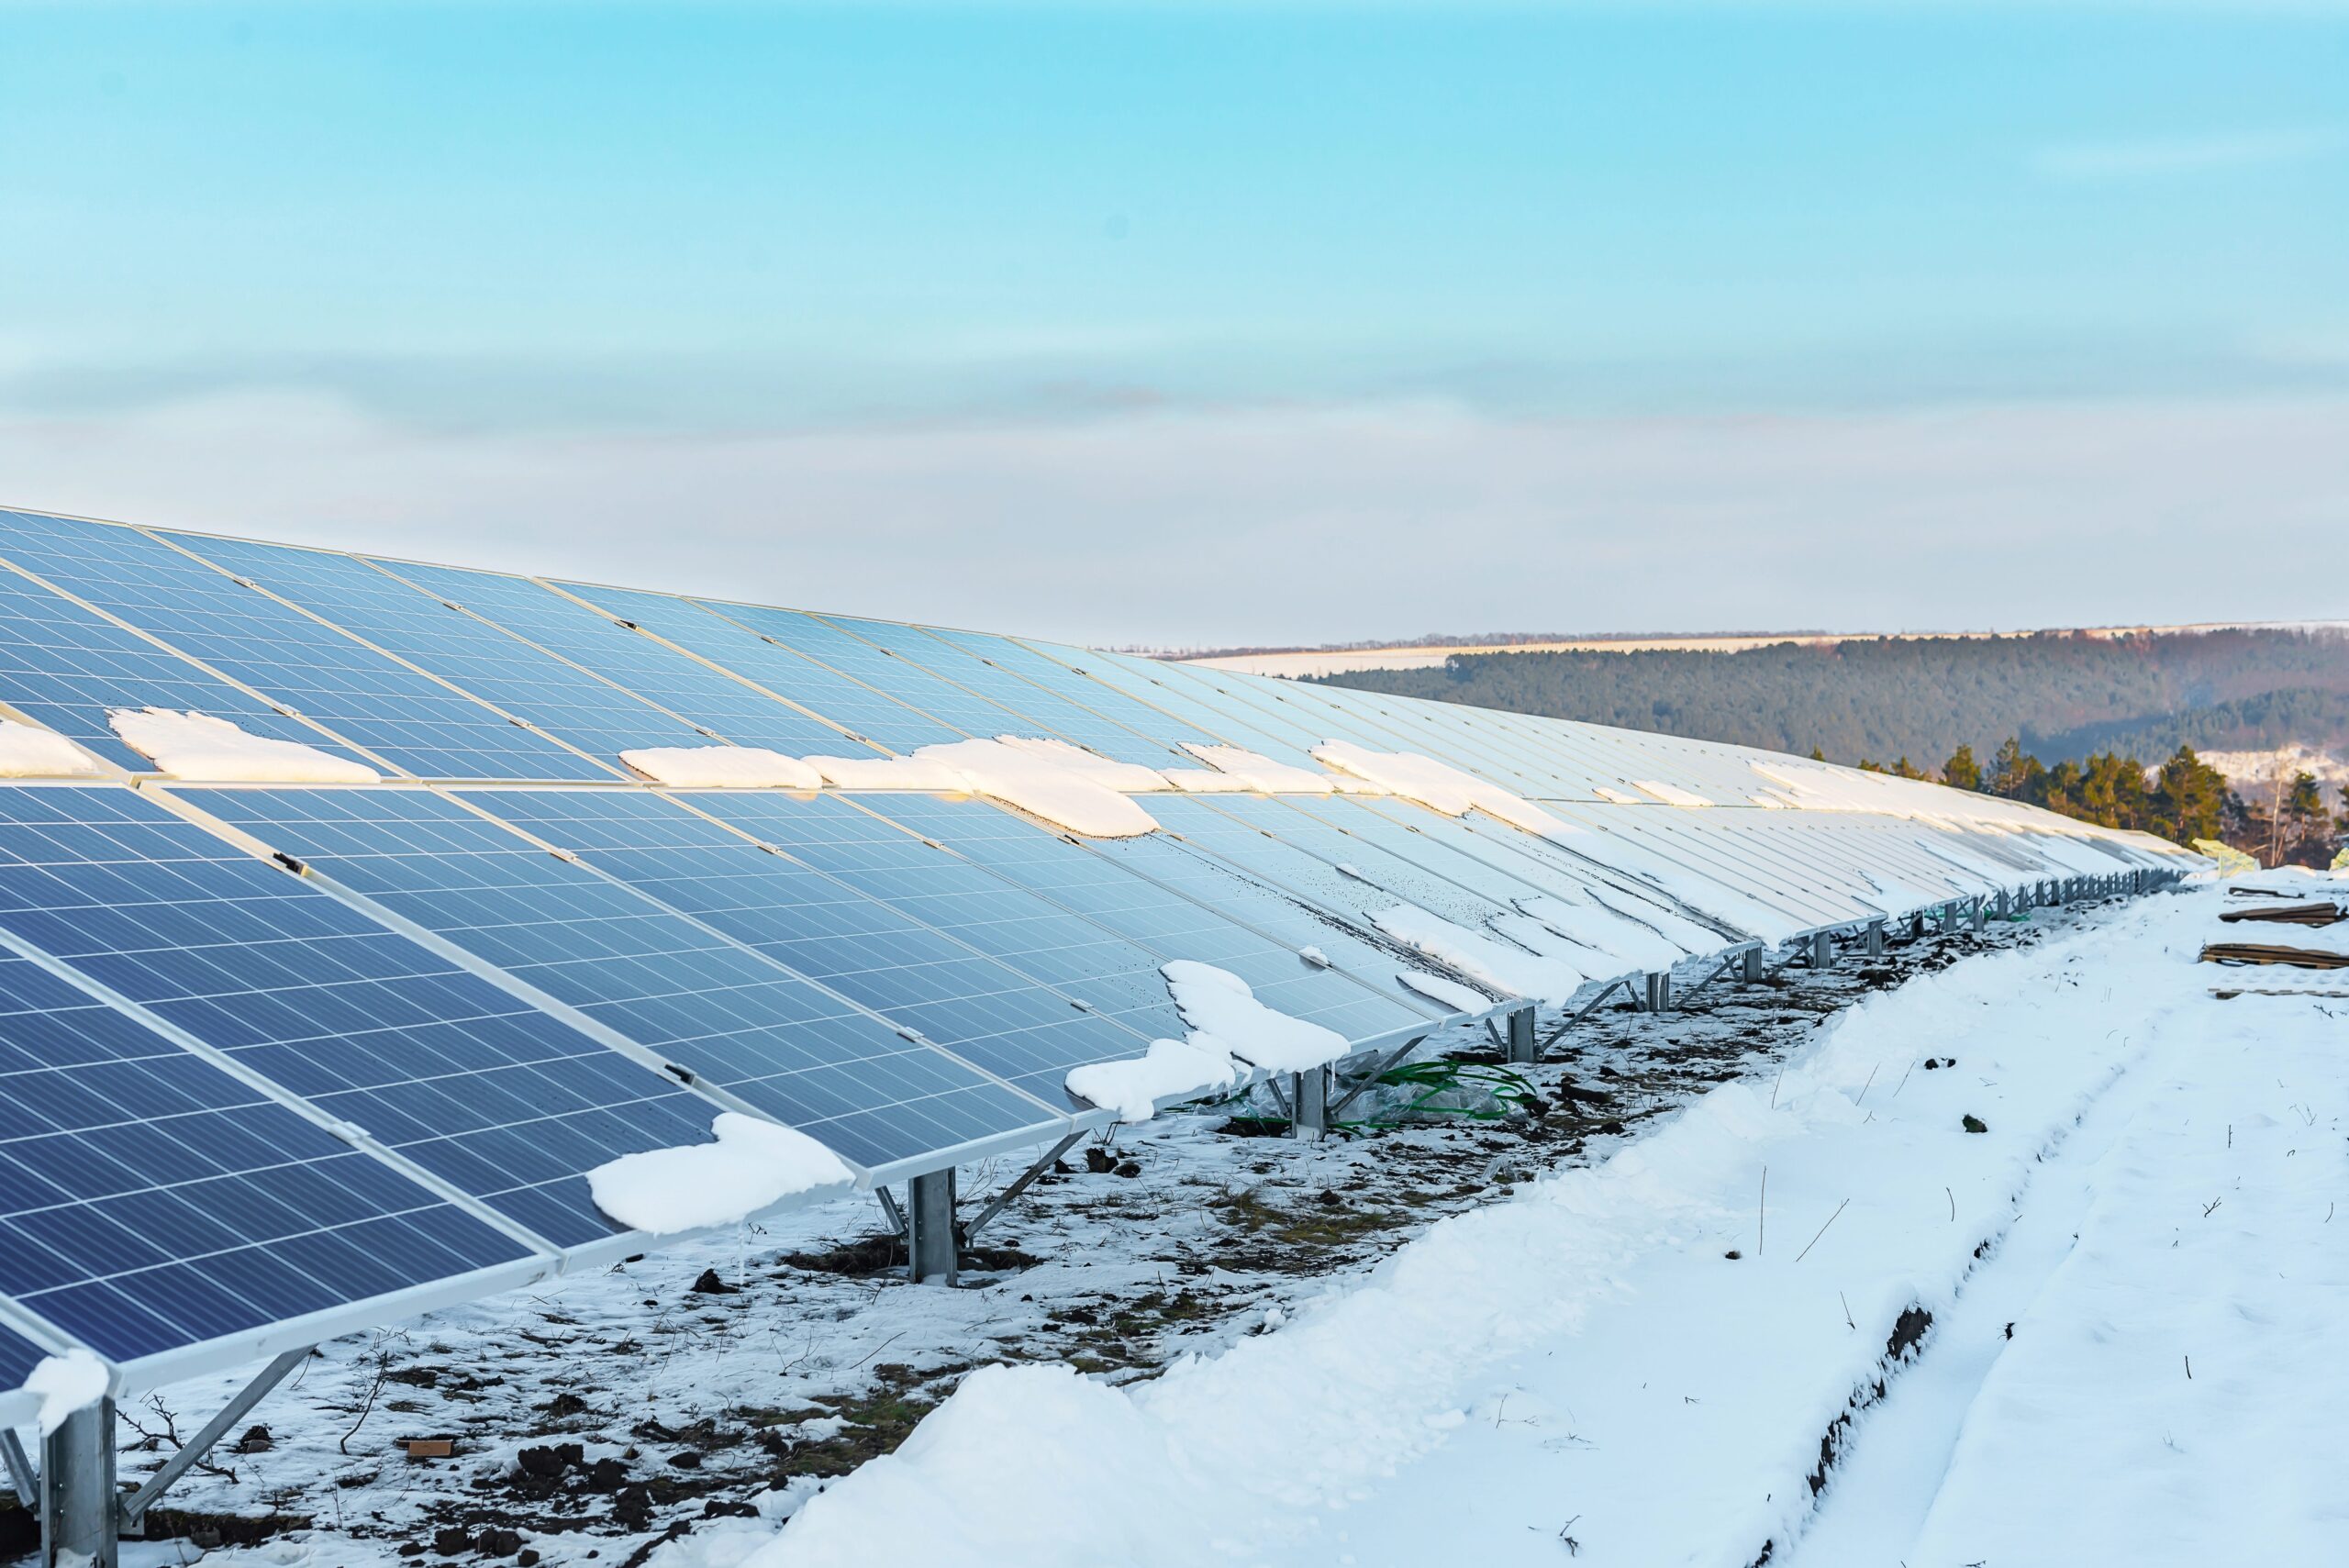
 Solar mounting wind load, and snow load considerations are critical as solar power continues to expand rapidly in the U.S. In the first quarter of 2025, the industry added 10.8 GW of new capacity. Although that figure is 7% below the same period last year, it underscores the massive scale of solar. Utility-scale solar is set to add approximately 32.5 GW throughout 2025, representing a nearly 30% jump from 2024’s installations.
Meanwhile, solar accounted for nearly 81% of all new capacity added to the grid year-to-date. Despite strong growth, wind zones can see gusts up to 120 mph, and northern regions may face snow loads of 70 psf or more, so a one-size‑fits‑all design simply won’t work.
This complete guide will walk through how to plan, test, and build solar mounting systems for high wind areas and deep snow. We will look at key terms, wind uplift, snow drift, and structural load factors. We will also share a step-by-step plan to choose the right solar racking systems for extreme weather conditions.
Why Wind and Snow Loads Matter
Wind and snow can break a system that is not built right. High winds can lift panels from roofs or tilt mounts out of place. Snow can pile up and add weight far above the roof’s limit. For solar permits in the USA, many local codes require proof that systems can stand these loads.
Wind uplift solar mounting forces often rise fast in hurricanes or storms. A standard flat roof may face 90–120 mph wind gusts in places like New Jersey or Florida. Likewise, snow loads can reach 70 psf in northern states. These numbers must guide the system choice.
What is Wind Load in Solar Mounting?
Wind load means the push or pull of wind on the panels and frame. It can cause:
-
- Uplift (pulling panels off)
-
- Shear (pushing sideways)
-
- Overturning (tilting mounts)
Solar panel wind resistance is measured in pounds per square foot (psf) or wind speed ratings like 120 mph. Engineers use ASCE 7 rules to work out these forces.
When picking high wind solar mounting systems, you want clear wind zone solar installation ratings. For instance, a system rated for 120 mph wind is made for hurricane-prone zones.
Wind Uplift and Structural Loads
Wind uplift is key for flat roofs. A poor design can see mounts ripped free in storms. Wind creates suction on panels. The mount must hold tight.
Structural load solar mounting plans check not just the weight of the panels but also forces from wind. brackets, bolts, and rails need the right size and strength.
What is Snow Load in Solar Racking?
Snow load is the weight of snow on a system. It varies by region. For example:
-
- Upstate NY: 40–60 psf
-
- Midwest: 30–50 psf
-
- Northern Rockies: 60–90 psf
Engineers use snow load calculations to see how much weight the mounts must hold.
Snow drift solar panels are another risk. Snow can pile unevenly due to the wind. That drift must be in the plan.
Snow Load Testing
Snow load testing solar panels means checking:
-
- Frame strength
-
- Mount connections
-
- Tilt angles (to shed snow)
A good design avoids sagging or breakage in deep snow. Snow load requirements for solar racking often come from local building codes.
How to Calculate Wind Load for Solar Mounting Systems
Step by Step Guide
Step 1: Know Your Wind Zone
Check local maps or Solar Permits USA guides. For wind zone solar installation in places like Florida, you may see 150 mph. In New Jersey, typical solar racking wind speed ratings might be around 120 mph.
Step 2: Find the Exposure Category
This tells how open the site is. Open fields get more wind. Dense city blocks have less.
Step 3: Use the Building Code
Codes like ASCE 7 offer ways to compute forces. You need height, shape, and wind speed.
Step 4: Apply Load Factors
These factors raise the base wind load to be safe for rare high winds.
Step 5: Add Uplift Calculations
Wind uplift solar mounting checks if the system resists suction from wind.
Complete guide tip: Always get local rules. Solar permits usa rules change by state.
Snow Load Requirements for Solar Racking
How to check snow loads:
-
- Get local snow load (e.g., 70 psf).
-
- Add drift if needed.
-
- Apply a safety factor.
-
- Choose mounts with tested load ratings.
A system like the TRT™ Rail Base System (TRT 02) is designed for strong roofs with high snow loads. It is crucial to pick the right tilt and rail size.
Engineering for Extreme Weather
Solar mounting system engineering for extreme weather goes beyond selecting heavy-duty parts.
The critical factors are load paths that transfer wind and snow forces efficiently from the panel frame through the mount and into the roof structure, correct bracket spacing matched to the span table for the specific wind and snow zone, bolt strength rated for the calculated uplift forces, and roof type compatibility since wood, metal, and concrete each require different attachment approaches.
Wind-Resistant Solar Panel Mounting Solutions
Wind-resistant systems share several design characteristics.
They use stronger materials such as anodized aluminum and stainless steel fasteners that resist corrosion over decades of exposure.
Rail-free configurations reduce the surface area where wind can generate uplift, and additional base points distribute load more evenly across the roof structure. Every component in a wind-rated system should carry tested and certified load ratings, not just manufacturer claims.
For example, the TRT™ Rail-less Base System (TRT 01) suits areas with high winds by reducing uplift zones and cutting gaps where wind can catch.
Snow Load Solar Racking Best Practices
Snow load solar racking needs:
-
- Steep tilt (to shed snow)
-
- Heavy-duty rails
-
- Strong connections to the roof
-
- Certified load ratings
Use the local code as a base. Always plan for worst-case drift.
Solar Racking Systems for Extreme Weather Conditions
Solar racking systems for extreme weather conditions must be:
-
- Tested for wind and snow
-
- Certified to meet code
-
- Installed by trained crews
In places like New Jersey, wind codes often demand 120 mph ratings. Snow loads can hit 50–70 psf. Choose systems that pass these tests.
Weather-Resistant Solar Racking Materials
Materials matter. Pick:
-
- Anodized aluminum for corrosion
-
- Stainless bolts and brackets
-
- UV-resistant plastics
These stand up to rain, snow, ice, and sun for years. Weather-resistant design avoids rust and weak spots.
Structural Load Solar Mounting and Roof Types
Roof type changes the entire approach to solar mounting design. For example, wood roofs often require brackets (base) that are spread out carefully to distribute the load without over-stressing any one area. Concrete roofs can handle higher structural loads overall, but they typically need specialized bolts or bracket (base) systems to ensure a secure hold.
Metal roofs, on the other hand, may use clamping systems instead of screws to avoid penetrations while still providing strong connections. Every roof has its own limits and characteristics, so solar mounting system engineering must start with a careful review of roof specifications before finalizing the design. By matching the mounting plan to the roof type, installers can ensure a safe, code-compliant, and long-lasting solar installation that resists wind and snow forces.
Testing and Standards
Good solar mounting systems are not chosen by guesswork; they are tested and certified to meet industry standards. Systems must be evaluated under ASCE 7 guidelines for wind loads to ensure they can resist uplift and shear forces expected in their region. They also need to meet local snow load requirements, which can vary dramatically between states and even towns.
Certified laboratory testing confirms that mounts, rails, and fasteners can handle these demands without failure. Wind uplift and snow load testing of solar panels are essential steps in ensuring safety and reliability. When choosing a system, it’s critical to look for these certified ratings to avoid failures in extreme weather conditions.
Solar Permits and Local Rules
Solar permits in the USA can differ widely depending on the state or municipality. For example, in New Jersey, local permitting often requires a detailed wind load report confirming that the design can handle conditions up to 120 mph. Snow load proof is also typically required, with values around 50 to 70 psf depending on the county.
In many places, the plans must also carry an engineer’s seal to show that they meet structural safety standards. Navigating these rules can be complex, which is why it’s so important to work with local experts who know the codes. Proper permitting not only ensures safety but also prevents delays and legal issues that could halt your project.
Installation Tips
Even a certified, properly specified system will fail if installation steps are skipped.
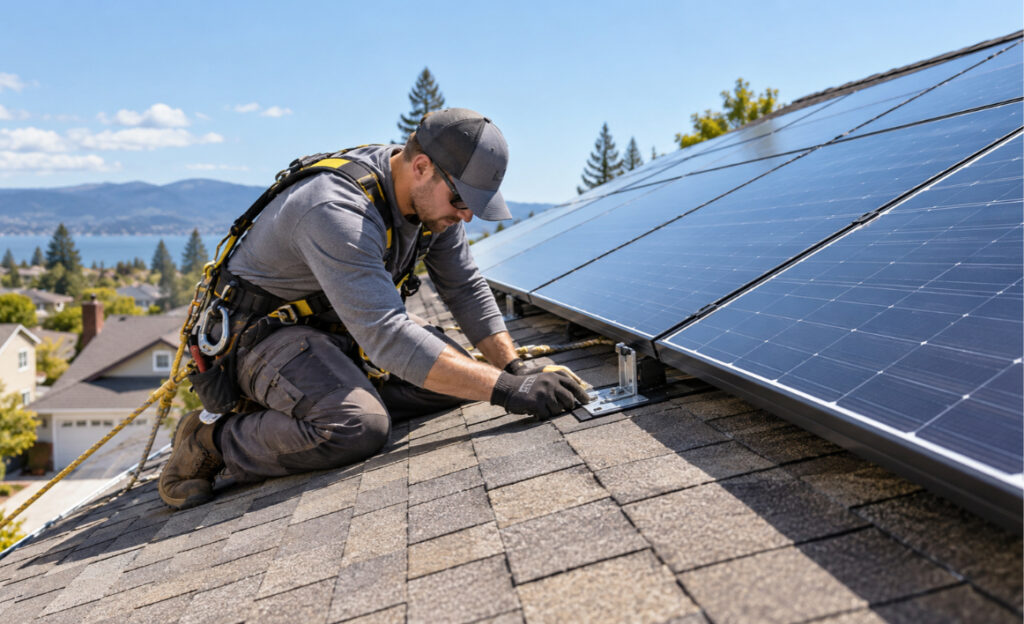
Installers should verify bracket spacing matches the approved span table before fastening anything, check torque on all bolts to the values in the installation manual rather than by feel, seal every roof penetration correctly using compatible sealants, and follow the manufacturer’s installation guide sequence from start to finish.
Hardware installed out of sequence or at incorrect torque creates failure points that may not appear until the first major storm.
Common Mistakes to Avoid
-
- Ignoring local wind/snow data
-
- Using mounts with low ratings
-
- Poor bracket spacing
-
- Wrong tilt angle (for snow shedding)
-
- Skipping structural review
Choosing the Right System
Choosing the right solar mounting system means taking several careful steps. Start by finding out the local wind and snow load requirements for your area. Check your roof type and age to understand its limits and needs. Always pick a system with certified ratings that prove it can handle the expected loads. Plan the brackets (base) layout to match the roof structure and load paths. Make sure to get all required permits before starting work. During installation, follow the manufacturer’s specifications exactly, and finish with a thorough inspection and test to confirm everything is secure and safe.
Conclusion
Designing solar mounting systems for high wind and snow loads is not guesswork. It needs clear data, smart design, and strong parts.
TOPRACK™ offers options like:
-
- TRT™ Rail-less Base System (TRT 01)
-
- TRT™ Rail Base System (TRT 02)
-
- TRT™ Tile Hook System (TRT 03)
By using tested, certified solutions, you can meet local rules, avoid damage, and keep your solar system safe for years, even in 120 mph winds and 70 psf snow loads. Contact us for more information.